by Matt Kloskowski | May 29, 2026 | Photoshop, Tutorials
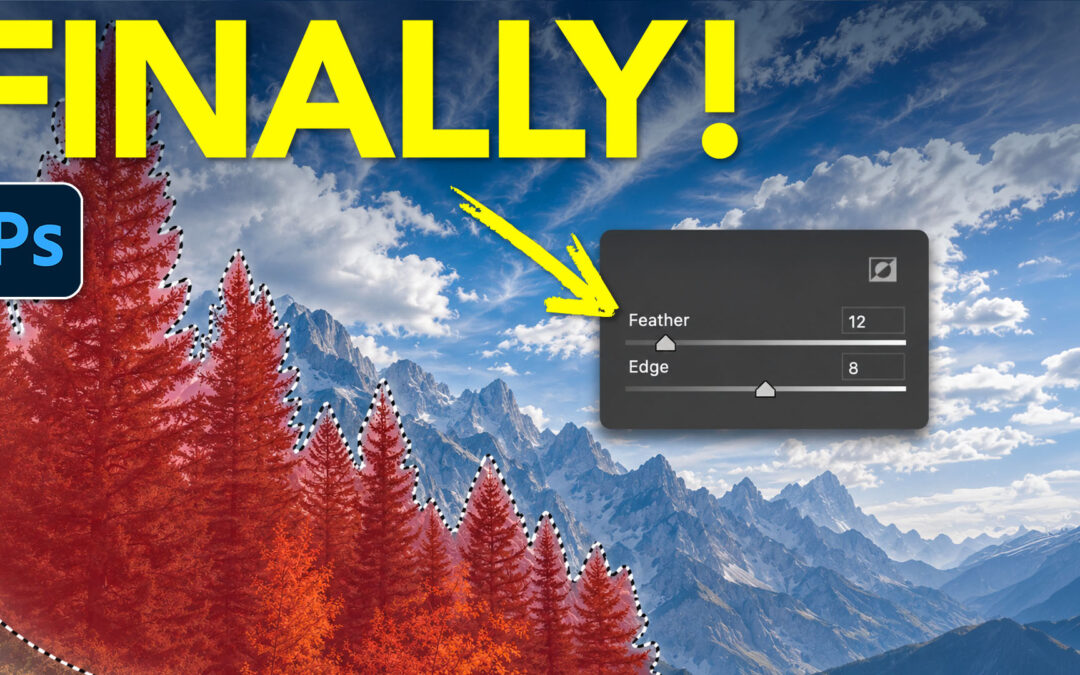
Today we’re going to cover a feature that I think all of you who use masking tools will love. It’s been one of the most requested features I’ve seen and I’m glad it’s finally here. Unfortunately, it’s not in Lightroom yet but...
by Matt Kloskowski | May 8, 2026 | Photoshop, Tutorials
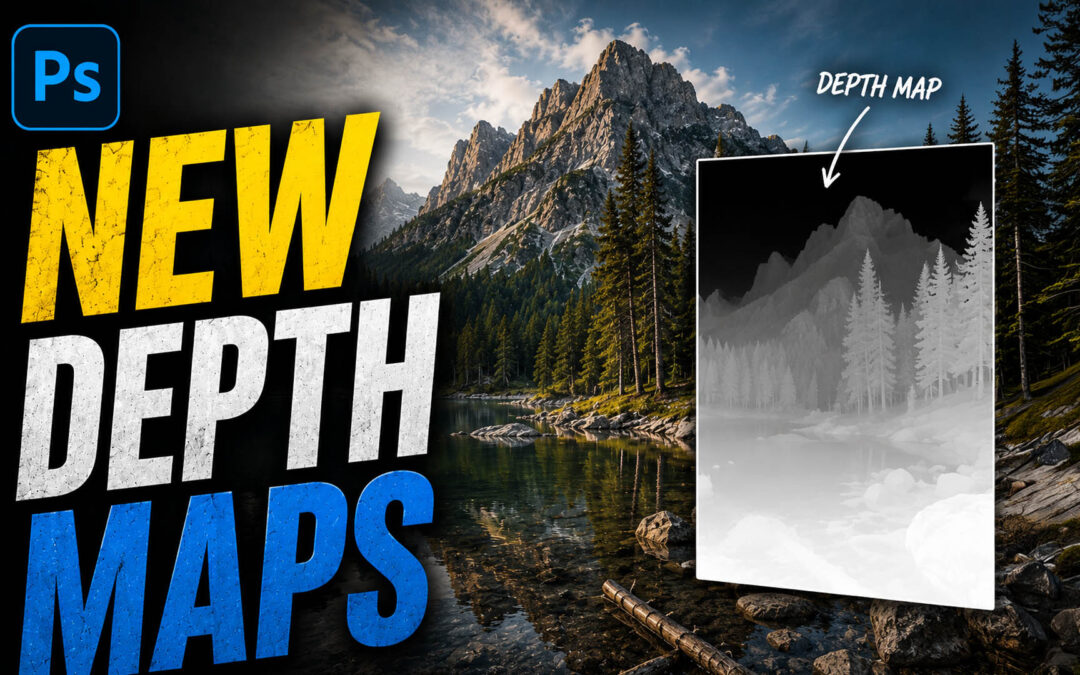
Hi everyone! Adobe snuck a new masking feature in to Camera Raw recently. It’s based on the Depth Range feature that’s been around for a while but chances are that you’ve never seen anyone talk about it because it wasn’t available for most of...
by Matt Kloskowski | Apr 30, 2026 | Lightroom, Photoshop, Tutorials
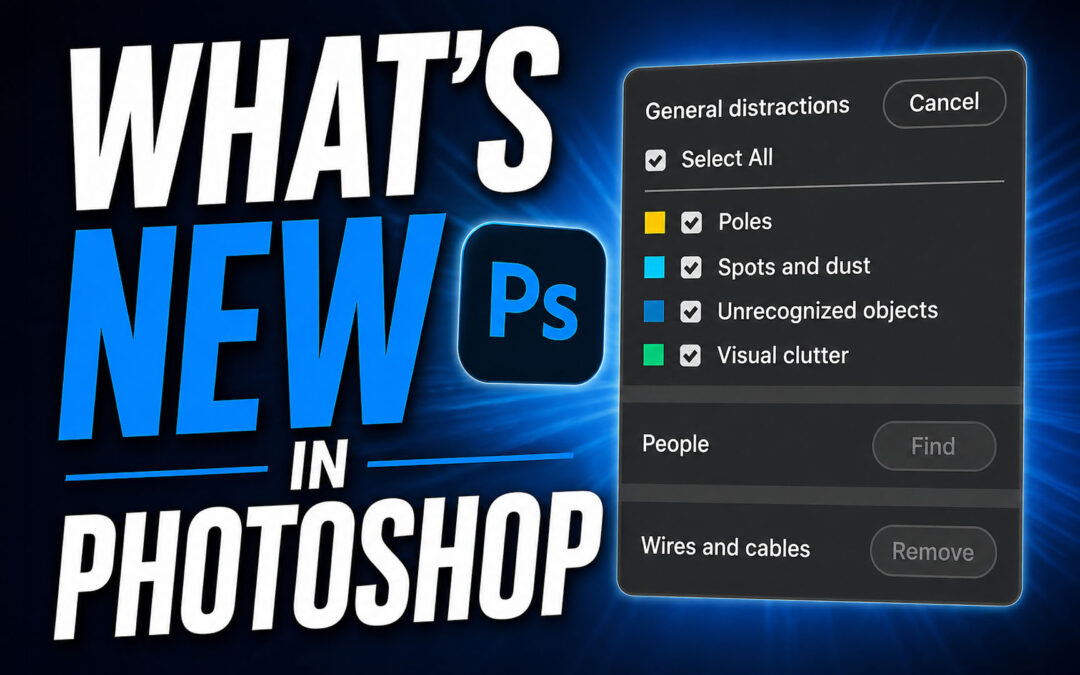
Hi everyone! Adobe recently released some new Photoshop features this week. One of the bigger features is a new way of finding and removing distractions which is always one of the main reasons we even go in to Photoshop in the first place (as a photographer). In...
by Matt Kloskowski | Apr 17, 2026 | Lightroom, Photoshop, Tutorials
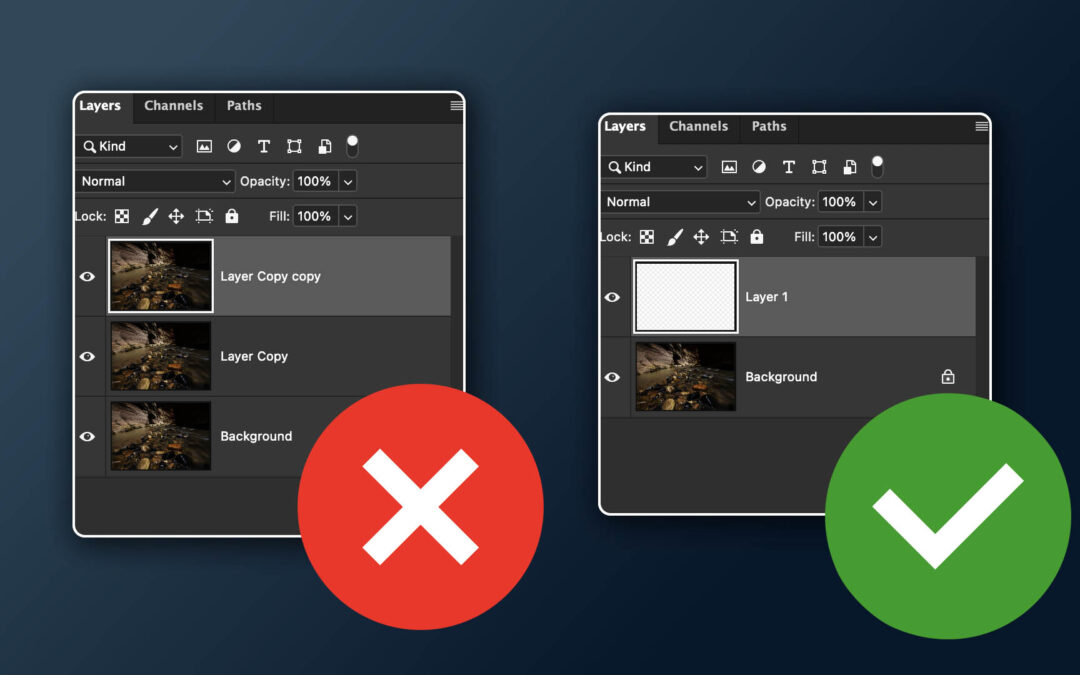
I wanted to cover a question I get often when people see me edit in Photoshop. It has to do with Layers and the idea that we’ve been taught that we always need to duplicate a layer as soon as we start working in Photoshop. Hopefully this helps clear things up....
by Matt Kloskowski | Mar 19, 2026 | Lightroom, Photoshop, Tutorials
Recently, in The Portfolio Group, some one (Andrea Altherr) shared a photo for some thoughts. I had done a quick edit on it and along the way I noticed a way that the Lens Blur filter can be used without necessarily trying to blur out the background (which usually...

by Matt Kloskowski | Jan 29, 2026 | Photoshop, Tutorials
Hi everyone! Adobe just released an update to Photoshop this week. We’ve got a couple of new Adjustment Layers (Clarity/Dehaze and Grain), some new Generative Fill features as well as the Remove Tool....
 I love teaching and photography... In that order. I feel that enjoying photography, and photo editing can get WAY too complicated. So my personal mission (and favorite thing to do), is to create education that simplifies the process of taking great photos, and how to edit them to get the results you’ve always wanted.